Inward
How to Create Inward.
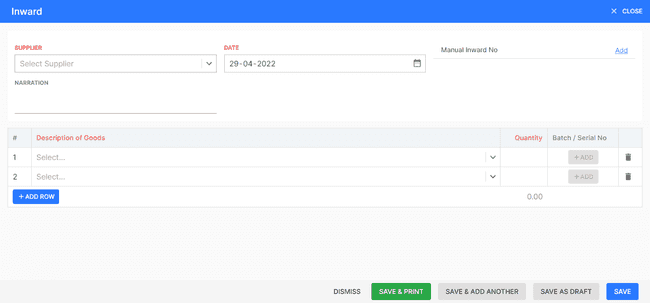
- Go to the INVOICE menu and select INWARD.
- Click the + ADD NEW top of the right of the page.
- Select the SUPPLIER, DATE and other details.
- Enter the INWARD NO. The inward no is generally auto-generated. You can manually enter the inward no as well by clicking the settings this field.
- Select PRODUCT.
- Enter the QUANTITY to be applied on the product.
- After entering all the details, click SAVE.
Other Actions for Inward.
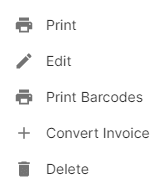
There are a host of other actions that you can perform on a inward in FinalBooks.
- Print Inward.
- Edit Inward.
- Print Barcode.
- Convert Invoice.
- Delete Inward.
How to Print Inward.
To print a inward:
- Go to the INVOICE menu and select INWARD.
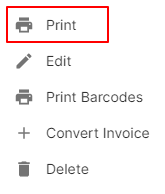
- Click Action-->Print in the right of the list.
- Check the preview and click Print.
How to Edit Inward.
You can change the details of your existing inward. Here’s how:
- Go to the INVOICE menu and select INWARD.
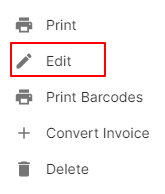
- Click Action-->Edit in the right of the list.
- After updating all details, click UPDATE.
How to Convert Inward to Invoice.
You can change the details of your existing sales invoice. Here’s how:
- Go to the INVOICE menu and select INWARD.
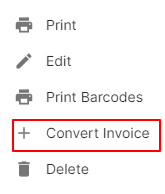
- Click Action-->Convert Invoice in the right of the list.
- After updating all details, click SAVE.
How to Delete Inward.
- Go to the INVOICE menu and select INWARD.
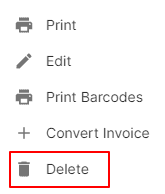
- Select Action-->Delete.
- Click DELETE IT to confirm.
How to Save as Draft Inward.
- Go to the INVOICE menu and select INWARD.
- Click the + ADD NEW top of the right of the page.
- Select the SUPPLIER, DATE and other details.
- Enter the INWARD NO. The inward no is generally auto-generated. You can manually enter the inward no as well by clicking the settings this field.
- Select PRODUCT.
- Enter the QUANTITY to be applied on the product.
- After entering all the details, click SAVE AS DRAFT and enter reason.
How to Convert Drafted Inward to Inward.
- Go to the INVOICE menu and select INWARD.
- Select draft filter from top.
- Select inward which you want to convert to inward.
- Select Action-->Create INWARD.
- After entering all the details, click SAVE.
