Credit Note
Introduction - Credit Notes.
A Credit Note is a document issued by a supplier to a customer when goods are returned to the supplier after a sale. This can happen due to reasons like the goods being damaged or not satisfactory. The credit note is created for the value of the goods returned.
In this page…
- Create invoice
How to Create Credit Note.
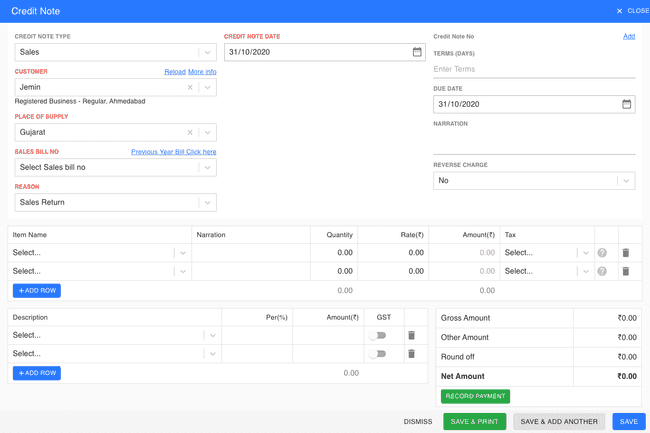
- Go to the INVOICE menu and select CREDIT NOTE.
- Click the + ADD NEW button in the top right of the page.
- Select the CUSTOMER NAME, PLACE of SUPPLY, and other details.
- Enter the CREDIT NOTE DATE. The invoice number is generally auto-generated. You can manually enter the invoice number as well by clicking the settings this field.
- Select SALES BILL NO then click on AUTOFILL button.
- Select REASON.
- Update the QUANTITY, RATE, DISCOUNT and TAX to be applied on the product.
- After entering all the details, click SAVE.
Other Actions for Credit Note.
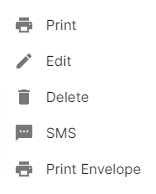
There are a host of other actions that you can perform on a credit note in FinalBooks.
- Print Credit Note.
- Edit Credit Note.
- Delete Credit Note.
- SMS Credit Note.
- Print Envelope
How to Print Credit Note.
- Go to the INVOICE menu and select CREDIT NOTE.
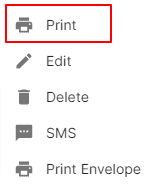
- Click Action-->Print in the right of the list.
- Check the preview and click PRINT.
How to Edit Credit Note.
You can change the details of your existing credit note. Here’s how:
- Go to the INVOICE menu and select CREDIT NOTE.
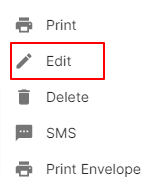
- Click Action-->Edit in the right of the list.
- After updating all details, click UPDATE.
How to Delete Single Credit Note.
- Go to the INVOICE menu and select CREDIT NOTE.
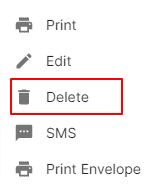
- Select Action-->Delete.
- Click DELETE IT to confirm.
How to Delete Multiple Credit Note
- Go to the INVOICE menu and select CREDIT NOTE.
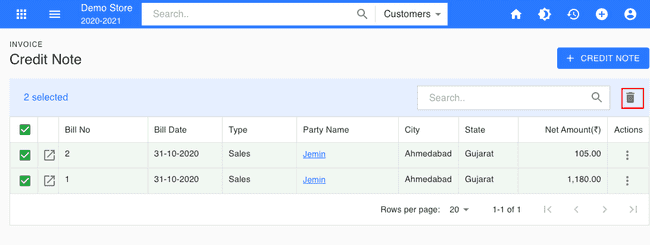
- Select CHECK BOX in credit note list.
- Click DELETE ICON in the top right of the list.
- Click DELETE IT to confirm.
How to Send Sms to Customer
- Go to the INVOICE menu and select CREDIT NOTE.
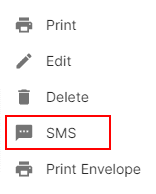
- Click Action-->SMS in the right of the list.
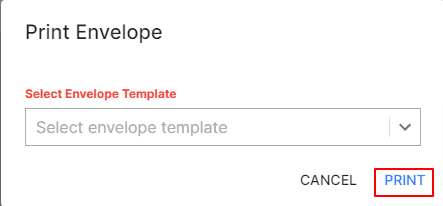
How to Print Envelope in Credit Note.
- Go to the INVOICE menu and select CREDIT NOTE.
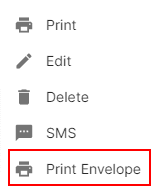
- Click Action-->Print Envelope in the right of the list.
- Select ENVELOPE TEMPLATE
- After selecting template, click PRINT.
How to Save Credit Note as Draft.
- Go to the INVOICE menu and select CREDIT NOTE.
- Click the + ADD NEW button in the top right of the page.
- Select the CUSTOMER NAME, PLACE of SUPPLY, and other details.
- Enter the CREDIT NOTE DATE. The invoice number is generally auto-generated. You can manually enter the invoice number as well by clicking the settings this field.
- Select SALES BILL NO then click on AUTOFILL button.
- Select REASON.
- Update the QUANTITY, RATE, DISCOUNT and TAX to be applied on the product.
- After entering all the details, click SAVE AS DRAFT and enter reason.
How to Convert Drafted Credit Note to Credit Note.
- Go to the INVOICE menu and select CREDIT NOTE.
- Select draft filter from top.
- Select credit note which you want to convert to Credit Note.
- Select Action-->Create Credit Note.
- After entering all the details, click SAVE.
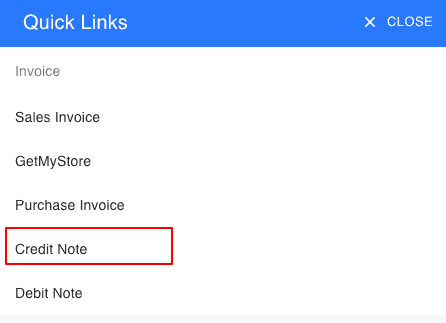
From the Quick Links.
You can also Create invoices directly from the Quick Links.
- Click the + icon top right of the page.
- Select CREDIT NOTE.
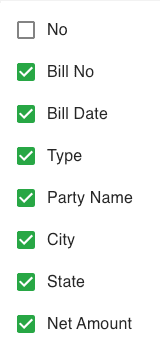
Invoice list Display Fields Customization.
You can custom fields for the display in invoices list. Learn more about field customization.
- Go to the INVOICE menu and select CREDIT NOTE.
- Click FILTER ICON in the top right of the list.
- Select Check box in show in list.
field customization.
You can add multiple custom fields for the credit notes module and assign different data types for each of them. Learn more about field customization.
How to Create Credit Note.
Video hosted on youtube.com
