Journal Entry
Introduction - Journal Entry.
In this page…
- Create Journal Entry
How to Create Journal Entry.
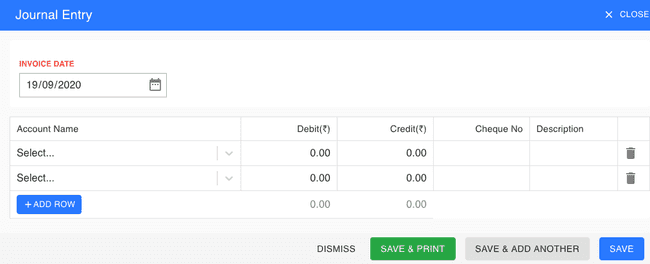
- Go to the TRANSACTION menu and select JOURNAL ENTRY.
- Click the + ADD ROW button in the top right of the page.
- Select the ACCOUNT NAME, DEBIT/CREDIT, INVOICE DATE and other details.
- After entering all the details, click SAVE.
Other Actions for Journal Entry.
There are a host of other actions that you can perform on a journal entry in FinalBooks.
- Print Journal Entry.
- Edit Journal Entry.
- Delete Journal Entry.
How to Print Journal Entry.
To print a journal entry:
- Go to the TRANSACTION menu and select JOURNAL ENTRY.
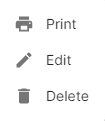
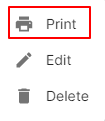
- Click Action-->Print in the right of the list.
- Check the preview and click PRINT.
How to Edit Journal Entry.
You can change the details of your existing journal entry. Here’s how:
- Go to the TRANSACTION menu and select JOURNAL ENTRY.
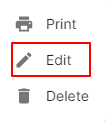
- Click Action-->Edit in the right of the list.
- Make the changes and save the journal entry.
How to Delete Single Journal Entry.
To delete the journal entry:
- Go to the TRANSACTION menu and select JOURNAL ENTRY.
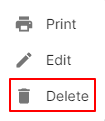
- Select Action-->Delete.
- Click DELETE IT to confirm.
How to Delete Multiple Journal Entry.
- Go to the TRANSACTION menu and select JOURNAL ENTRY.
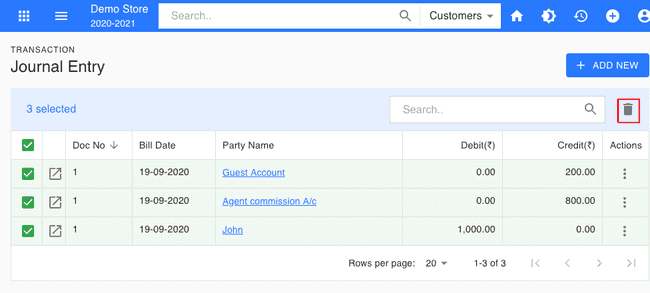
- Select CHECK BOX in journal entry list.
- Click DELETE ICON in the top right of the list.
- Click DELETE IT to confirm.
From the Quick Links.
You can also Create journal entrys directly from the Quick Links.
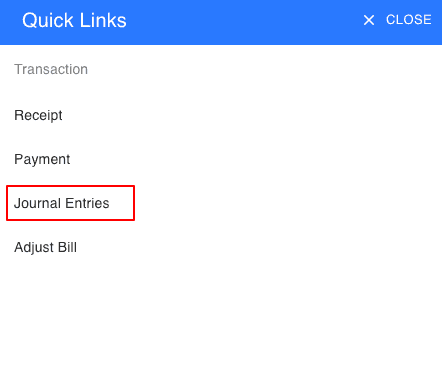
- Click the + icon top right of the page.
- Select JOURNAL ENTRY.
Adjust Journal Against Journal.
To adjust receipt Against invoice:
- Go to the TRANSACTION menu and select JOURNAL ENTRY.
- Click the + ADD NEW button in the top right of the page.
- Select the ACCOUNT NAME, DEBIT/CREDIT, INVOICE DATE and other details
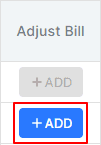
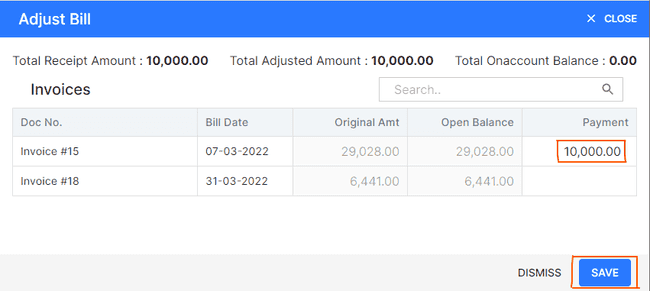
- After entering all details, click on ADJUST BILL button
- Click right side row of the page ADJUST BILL after entering all details.
- Enter amount as you wish.
- After entering details, click SAVE.
- After entering all details, click SAVE on main page.
How to Create New Journal Entry.
Video hosted on youtube.com
